How To Mount Aftermarket Light Bars for Maximum Efficiency
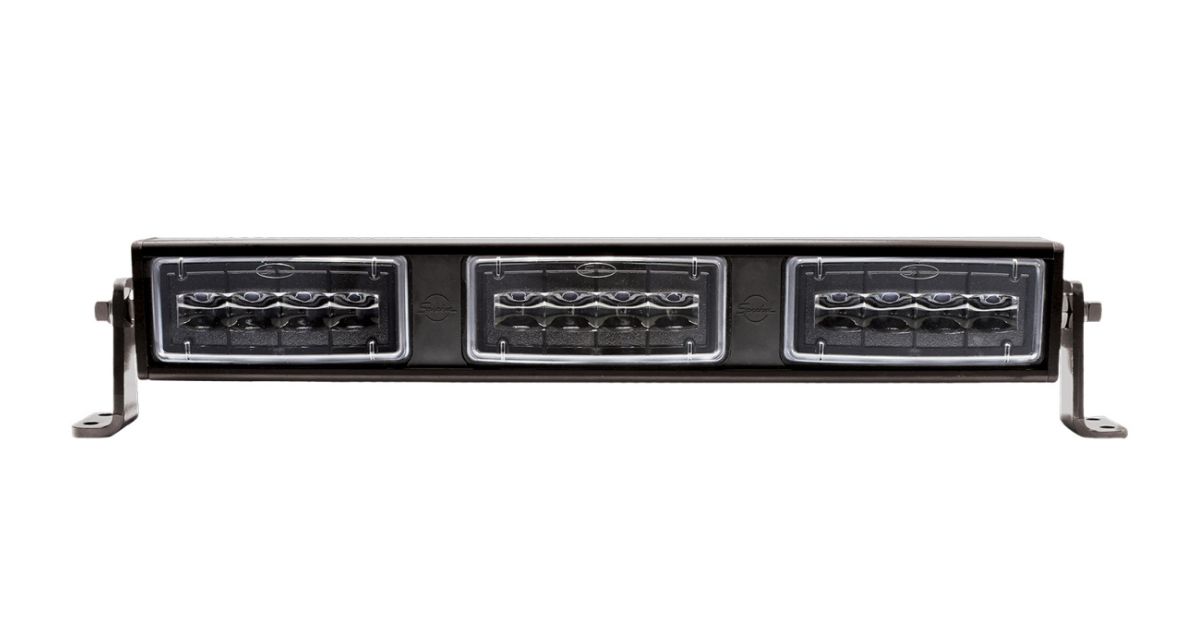
Installing an aftermarket light bar could be one of the smartest upgrades you make for your vehicles, whether for personal off-roading adventures or commercial fleet operations. These incredibly versatile tools aren’t just about lighting up the road ahead; they’re about increasing safety, improving efficiency, and setting your fleet up for success in challenging environments.
Whether you’re navigating in low-visibility conditions, working after-hours, or ensuring your drivers have optimal clarity on every route, light bars are the go-to solution.
Don’t worry; if you don’t know how to mount aftermarket light bars for maximum efficiency, we will teach you today.
This guide will take you through every step of the process, from choosing the perfect light bar to ensuring it’s installed correctly. With the right tools, a bit of prep, and a clear understanding of best practices, you’ll be able to turn your fleet vehicles into well-lit champions of the road.
Light Bars and Their Benefits
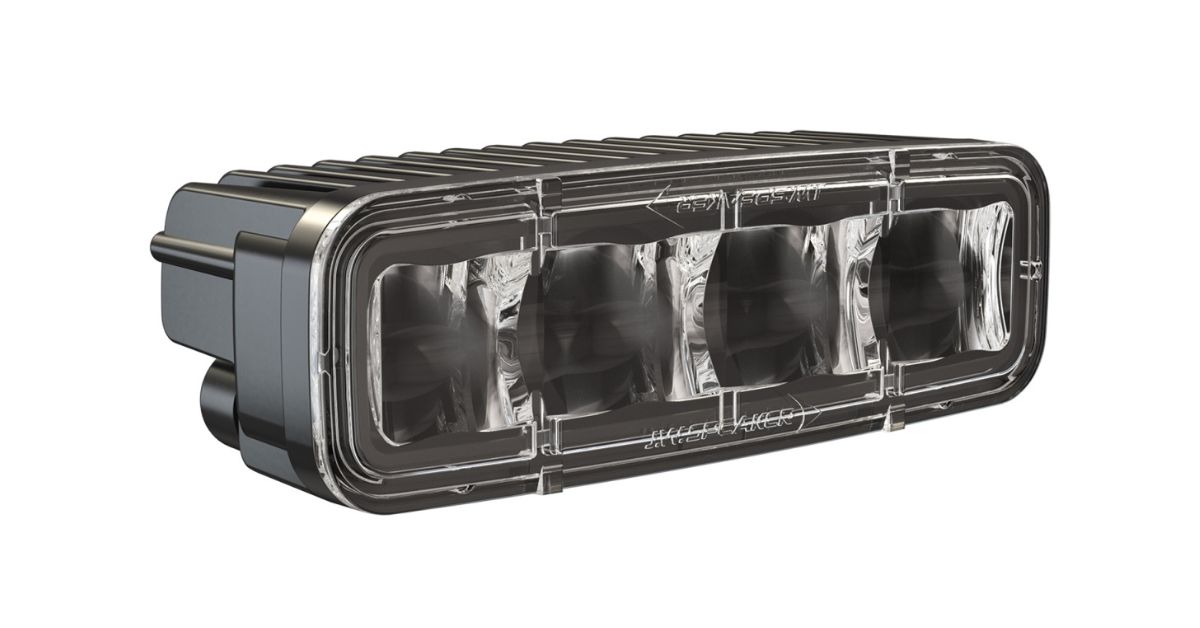
Light bars have become an essential accessory for many commercial vehicles, offering several advantages. They improve visibility during nighttime operations or in dim conditions, and their rugged designs make them ideal for tough environments.
Many light bars come with waterproof and shock-resistant features, ensuring reliable performance even in harsh conditions.
When choosing a light bar, it’s crucial to understand the beam patterns available. Spot beams are ideal for long-distance viewing, while flood beams offer wider illumination for close-range tasks.
Combo beams combine the best of both worlds, making them a versatile choice for many situations. Select a model with the beam pattern that suits your fleet’s specific needs.
Tools and Materials Required
Before beginning the installation, gather the necessary tools and materials. You’ll need a compatible light bar, mounting brackets, a wiring harness (complete with fuses, switches, and relays), and basic tools that include screwdrivers, wrenches, a drill, and a multimeter. Protective essentials such as gloves and safety goggles are also a must to ensure safety during the process.
Step-by-Step Installation Process
Installing an aftermarket light bar isn’t just about slapping on some extra lights; it’s about upgrading your fleet to operate smarter and safer when visibility matters the most. To get it right, it’s important to follow a clear, step-by-step process.
Stick with us as we break it all down, and by the end, you’ll have the insight and confidence to outfit your fleet with lighting that performs when it counts.
Planning and Preparation
Careful preparation is the foundation of a successful installation. Start by checking local regulations to ensure the light bar complies with brightness and usage laws.
Identify the optimal placement for the light bar on your vehicle, whether it’s on the roof, grille, or bumper. The chosen spot should provide good illumination without obstructing the driver’s view.
Examine mounting points and plan wiring routes, avoiding areas near hot or moving parts to ensure long-lasting functionality.
Mounting the Light Bar
Position the light bar in your desired location and use masking tape to mark the exact points where mounting holes will go.
Attach the included brackets to the light bar and mark screw locations on your vehicle. If drilling is necessary, do so carefully to avoid damaging existing wires or components. Finally, fasten the light bar securely with bolts and washers, ensuring it’s tightly mounted but not overly stressed.
Wiring the Light Bar
Wiring the light bar is the most technical step, but it will be simple if you follow the instructions provided with your wiring harness. Begin by connecting the red wire to the positive terminal of the battery and the black wire to the negative terminal or a suitable ground point.
Mount the relay and fuse close to the battery for safety. Install the on/off switch on the dashboard within easy reach of the driver.
Always use electrical tape or heat shrink tubing to seal the connections, protecting them from moisture and dust. Once everything is securely connected, test the wiring with a multimeter to ensure it works before proceeding further.
Testing and Adjustments
Not only must you know how to mount aftermarket light bars for maximum efficiency, but you must also know how to test for success.
Turn the switch on and off to confirm the light bar functions as expected. Adjust the beam’s angle to optimize illumination while preventing glare for oncoming drivers. Once satisfied with the positioning, tighten all mounts fully.
Safety Precautions
Working with electrical components and mounting equipment carries inherent risks, so it’s important to prioritize safety. Always disconnect the vehicle’s battery before working on any wiring.
Wear gloves and safety goggles while drilling or handling wires, and avoid working in wet conditions to reduce the risk of electrical hazards.
Tips for Optimal Installation
You can find high-quality heated LED work lights online, including light bars, that provide all the features you need. However, the success of your setup lies in your parts and your installation process.
While the installation process is straightforward, a few tips can help you achieve the best results.
Mounting the light bar higher on the vehicle, such as on the roof, provides better range for long-distance lighting. For tasks requiring closer illumination, lower placements like the grille or bumper are more effective.
You should also choose a clear, dry day for installation to avoid moisture interfering with electrical connections. Wet or humid conditions can make wiring unsafe and compromise the quality of the installation.
Before finalizing the mounting, take a few moments to confirm that the light bar is perfectly straight and aligned. A crooked light bar not only looks unprofessional but can also affect beam focus and coverage.
Keep It Running Smoothly with Maintenance Made Easy
To ensure the ongoing performance of your light bar, regular maintenance is crucial. Clean the lens periodically with a non-abrasive cleaner to maintain its brightness.
Inspect wiring connections for wear or corrosion and address any issues promptly. If the light bar fails to function, check the fuse, switch, and connections with a multimeter to identify the problem and resolve it efficiently.
Wrapping It Up: Bright Ideas for Smarter Fleet Operations
Installing an aftermarket light bar can significantly improve fleet operations, enhancing safety and efficiency. By following the steps outlined in this guide, business owners and fleet managers can install light bars successfully and with confidence.
Remember, proper planning, careful installation, and regular maintenance will ensure your investment pays off in the long run.
Don’t wait to maximize the safety and efficiency of your fleet. With an aftermarket light bar, you’re not just installing a piece of equipment; you’re investing in better visibility, safer operations, and more productive routes.
Gather your tools, follow this guide, and get started today! If you’re ready to take your fleet operations to the next level, choose the right light bars and make the upgrade that keeps your business shining.
