Introducing the EVO-X Series
How Heated LEDs Prevent Ice Buildup on Emergency Vehicles
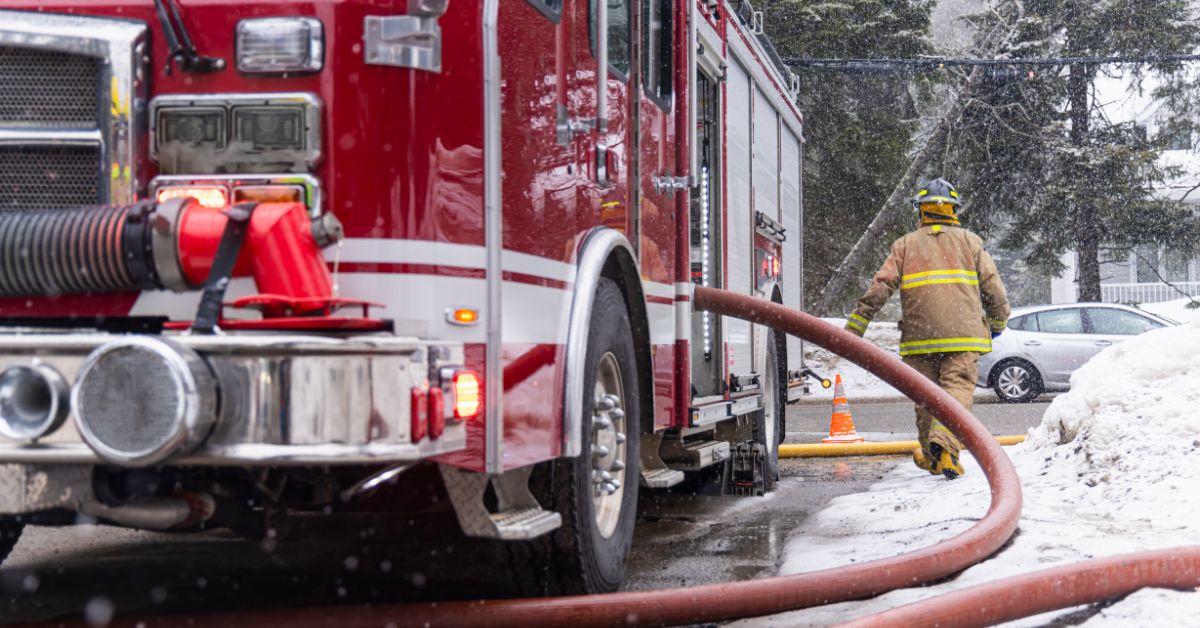
Winter weather brings significant challenges for everyone on the road, but for first responders, the stakes are much higher.
When ice and snow accumulate on an emergency vehicle’s lighting, it severely compromises visibility, endangering both the crew and the public. Obstructed lights can mean the difference between a timely, safe arrival and a hazardous journey.
This is where heated LED technology becomes a critical safety component.
You don’t have to let winter weather hinder your safety any further. Find out how heated LEDs prevent ice buildup on emergency vehicles so that you can start driving safer today.
The Danger of Ice Buildup
Standard LED lights, while efficient, do not generate enough heat to melt ice or snow.
In freezing rain, sleet, or heavy snowfall, a layer of ice may form over the lenses of headlights, taillights, and warning lights. This buildup can drastically reduce light output, making it difficult for other drivers to see the emergency vehicle, especially in low-visibility conditions.
The result is a significant increase in the risk of accidents, slower response times, and compromised safety for everyone involved.
For emergency services, maintaining clear visibility is a fundamental requirement for operational readiness and public safety. Thankfully, you can find heated LED headlights and other reliable solutions online right now.
Let’s take a closer look at how this technology makes road travel safer for emergency vehicles.
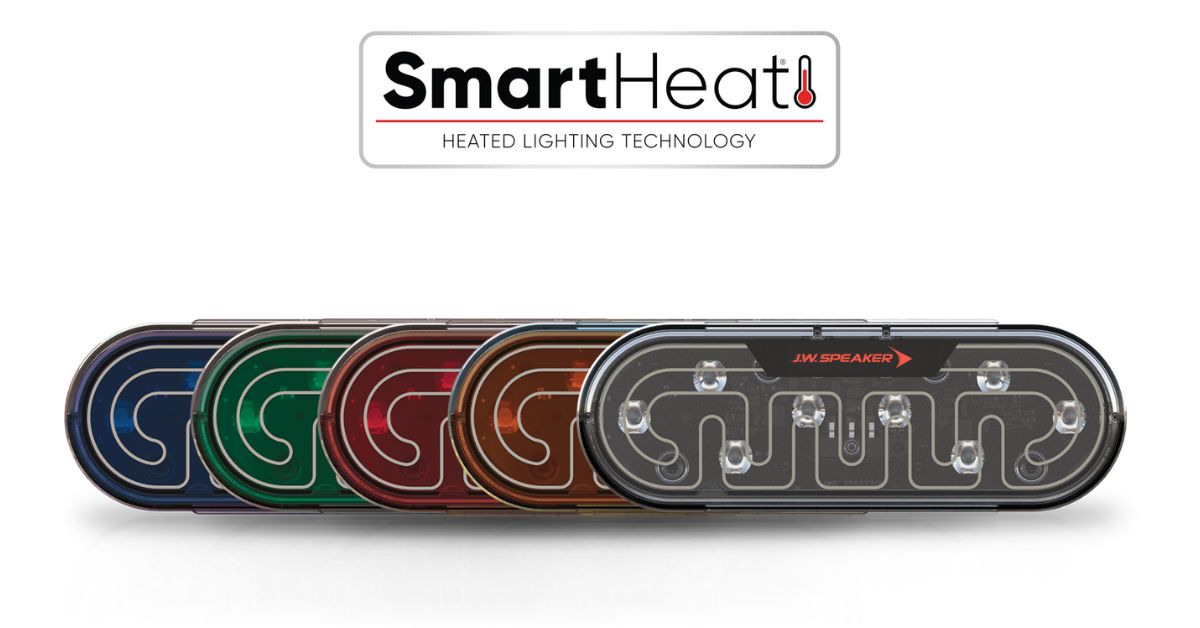
The Mechanics of Heated LED Technology
Manufacturers engineer heated LEDs to directly combat the problem of ice accumulation. They integrate a self-regulating heating system that activates automatically when the ambient temperature drops below a specific threshold.
This system works through several key components:
Temperature sensors: A built-in sensor continuously monitors the temperature of the light’s lens.
Heating element: When the temperature falls to a preset point, an internal heating element activates. This element is typically a conductive grid or film that attaches directly to the lens or is integrated within the light’s housing.
Automatic activation: The heating process is entirely automatic. It warms the lens just enough to prevent ice from forming and to melt any snow or sleet that comes into contact with it. The system deactivates once the lens temperature rises above the threshold, ensuring energy efficiency and preventing the light from overheating.
This automated process ensures the lights remain clear and fully visible without any intervention from the vehicle operator, allowing them to focus on the mission at hand.
Core Benefits for Emergency Fleets
Integrating heated LEDs into emergency vehicles offers a range of practical advantages that directly enhance safety and operational effectiveness.
Maximized visibility: The primary benefit is the assurance of clear, unobstructed lighting in all weather conditions. This ensures that warning signals become visible from a distance and that headlights provide maximum illumination of the road ahead.
Increased crew and public safety: By maintaining visibility, heated LEDs reduce the risk of collisions. This protects the emergency crew, other motorists, and pedestrians, especially during urgent responses where every second counts.
Reduced vehicle downtime: Manual deicing of lights takes time and effort, pulling vehicles and personnel away from active duty. Heated LEDs eliminate this maintenance task, keeping vehicles ready to respond at a moment’s notice.
Enhanced operational reliability: Emergency services must be able to operate reliably, regardless of the weather. Heated LEDs ensure that vehicles can perform their duties safely and effectively during harsh winter storms.
Helping With Many Emergency Applications
One key reason it’s important to know how heated LEDs prevent ice buildup on emergency vehicles is that these lights suit a wide range of applications.
Emergency roadside services operating in regions with severe winters can adopt this technology to great success. For example, snowplow fleets, which operate in the most demanding winter conditions, rely on heated lights to maintain visibility while clearing roads.
Similarly, select rescue vehicles in northern states can respond to calls more safely during blizzards, knowing that ice won’t obscure their warning lights. These real-world applications demonstrate that heated LEDs are a reliable and essential solution for any organization that cannot afford to let winter weather impede its operations. Custom heated LED lights can also be developed for police forces, fire departments and ambulance fleets in need.
Finding Heated LEDs for Your Fleet
When choosing heated LEDs for an emergency vehicle, you must consider several factors to select the most effective and reliable product.
Durability and construction: Look for lights with robust, impact-resistant polycarbonate lenses and durable housings that can withstand the rigors of emergency service.
Compliance and certification: Ensure the lights meet all relevant industry standards, such as those set by the SAE (Society of Automotive Engineers) and DOT (Department of Transportation), for brightness, color, and performance.
Temperature activation range: Check the temperature at which the heating element activates. An effective system should turn on before ice has a chance to form, typically in the 40-50°F range.
Energy consumption: While the heating element requires power, a well-designed system will be energy-efficient, activating only when necessary to avoid placing an undue strain on the vehicle’s electrical system.
Manufacturer reputation: Choose products from reputable manufacturers known for producing high-quality lighting solutions for emergency and commercial vehicles.
Guidelines for Installation and Maintenance
Proper installation and routine maintenance are key to maximizing the lifespan and performance of your heated LED lights.
Professional installation: We highly recommend that a qualified technician installs your heated LEDs. Their expertise ensures they can correctly connect and secure all wiring, preventing electrical issues and guaranteeing reliable operation.
Regular inspections: As part of routine vehicle checks, visually inspect the lights for any signs of damage, such as cracks in the lens or housing.
Keep lenses clean: While the heating element handles ice and snow, it’s still important to keep the lenses clean from dirt, salt, and road grime. A clean lens ensures maximum light output and allows the temperature sensors to function accurately.

A Clearer, Safer Future
For emergency services, failure is not an option. The ability to operate safely and effectively in severe weather is a non-negotiable requirement.
Heated LED technology provides a simple, reliable solution to the dangerous problem of ice buildup on vehicle lighting.
By ensuring maximum visibility in the harshest conditions, these lights protect first responders and the public, reduce vehicle downtime, and allow emergency personnel to focus on their critical missions. Investing in heated LEDs is an investment in safety, reliability, and readiness.
Make your emergency vehicles safer today so that each one is always ready to assist first responders.
A Straightforward Installation Process
Another major advantage of fitting your RV with external LED lighting is their convenience. Upgrading to external LED lighting is a manageable project for most RV owners. Many LED lighting kits offer straightforward, do-it-yourself installation with minimal tools and electrical knowledge required.
First, you must choose your lights, whether that be a new spotlight, light bar, or another solution entirely. Select the appropriate LED fixtures based on your needs, considering brightness (lumens), color temperature, and style.
Next, it’s time to plan the ideal layout on the RV. Determine the optimal placement for your lights to achieve the desired coverage for visibility and security. This may be more complicated if you already have additional exterior lights. Thankfully, RVs have a lot of space, from the bumper to the roof, to install high-quality LEDs for maximum coverage.
Finalizing Your Setup
Always disconnect your RV’s battery and any shore power connections before beginning any electrical work. Once that is complete, you can look at where and how to mount your fixtures.
Securely attach the LED lights to the exterior of your RV using the mounting hardware provided. Ensure they are sealed against the weather. After all, your external lights must withstand dirt, snow, and all the other hazards that the environment throws at them.
Wiring and Testing
Route the wiring from the lights to a suitable power source and switch inside your RV. You should always follow the manufacturer’s instructions to ensure a safe and secure connection. After you secure your connections, it’s time to test the system.
Reconnect the power, and test your new lights to confirm they are functioning correctly. For more complex systems or if you are uncomfortable with electrical work, consult a professional RV technician.
A Clearer, Safer Future
Integrating external LED lighting is a high-impact upgrade that delivers tangible benefits across multiple fronts. From the critical safety enhancement of improved visibility to the long-term cost savings of energy efficiency, LEDs offer a superior solution to standard RV lighting.
Furthermore, the added security and aesthetic customization make it a worthwhile investment for any RV owner. By making this upgrade, you enhance not only your vehicle’s performance but also your overall travel experience. Implement high-quality exterior lighting on your RV today to see these advantages firsthand.